An unstable bike chain can be such a nuisance. It even poses various risks to the rider.
Readjusting your bike chain in the middle of riding is bothersome. Unfortunately, this is a pretty common occurrence among cyclists.
Losing your patience because your chain continues to fall off might be one thing you and Lance Armstrong have in common.
While it is typically nothing to worry about, you can prevent its occurrence by avoiding certain harmful habits.
It would be best to familiarize yourself with the proper care and maintenance techniques that your bike’s components require to prevent unwittingly causing any damage to its mechanisms.
We have put together a list of things that commonly cause your bike’s chain to fall off and what you can do about it!
Don’t worry.
Unlike most quick-fix articles, here you will find more comprehensive details that will help you understand the issue and how you can solve them.
Contents
How Your Drivetrain Causes Your Chain To Slip Off

Issues are most often related to your drivetrain system. It is the mechanism that facilitates a lot of your chain’s movements.
The more distance your bike travels, the more strain your drivetrain system takes from various impacts.
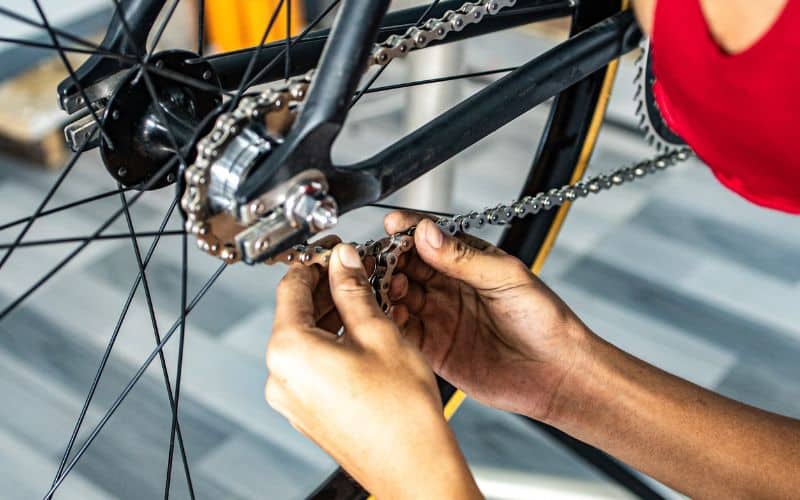
Your chain’s attachment to the drivetrain may be ill-fitted, resulting in an instability between the two. A bike chain improperly linked to the cassette is more prone to falling off, causing numerous issues.
It can also be the underlying cause of the damages your bike sustains, necessitating repairs and replacements.
Ill-Fitting Chains and How To Fix Them
Sometimes, your chain may not be the correct size.
Upon installment, it may have been the correct size, but its links could have been stretched out or loosened over time.
Chains that are too long come off chainrings much faster than those with a snug fit.
More forceful peddling produces faster revolutions, which can immediately knock a loose chain off your bike.
It can be dangerous for those riding up a mountainside or on slippery terrain.
A chain that is too long may slip off your bike during rigorous pedaling, risking damage to your bike’s other components as well.
This can pose a significant hazard to your safety and cause extensive damage to your bike and shoes.
A stretched-out chain is a typical wear-and-tear problem that cyclists often encounter. You can replace chains easily if you ever wear out your old ones.
Don’t worry. You don’t have to find the same chain to replace it.
You can explore numerous options of chains that may better suit your current riding style.
Your bike’s original chain may have been better for recreational trail riding, and you might be hitting rougher terrain these days.
Riding styles evolve, and your bike’s components might be unable to keep up, resulting in faster wear and tear.
Other issues may include integrating add-ons to upgrade your bike from its factory setting. However, some of these integrations may not yield the desired results.
It isn’t unheard of for cyclists to purchase equipment only to find out they don’t fit right, especially with online purchases.
Solutions for Stretched-Out Chains
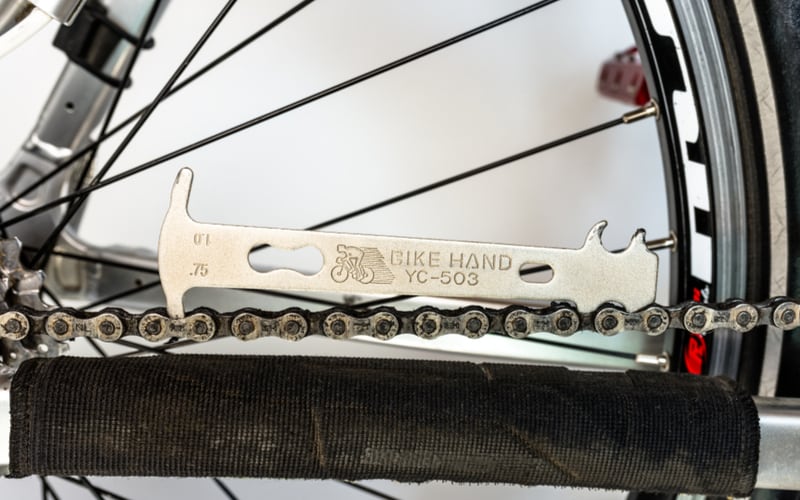
A worn chain that is suddenly too long may easily be corrected through replacement.
Still, it’s best to ensure you procure versatile chains from reliable sources.
Your bike’s chain and safety are only as reliable as its weakest chain link, so each of these connections must be pristine with a firm grip on the following link in the chain. Ensure you only buy equipment from reliable brands.
It should go without saying, but let’s clarify that bike chains aren’t like any other chain. They are uniquely designed to serve specific functions you cannot expect from ordinary chains. They are manufactured with durable material, with the ability to withstand various elements.
However, unknown brands spend fewer resources manufacturing quality chains, swapping quality for quantity to mass produce less reliable products.
You should opt for trustworthy brands, paying less for an unknown brand risks your safety to save a few dollars.
How to Change Bike Chains
Instead of sending your bike to the repair shop for a quick chain replacement, you can save a few dollars by changing your bike chains yourself.
Here’s a video you can watch that will help you safely dislodge your old chain to replace it with a new one.
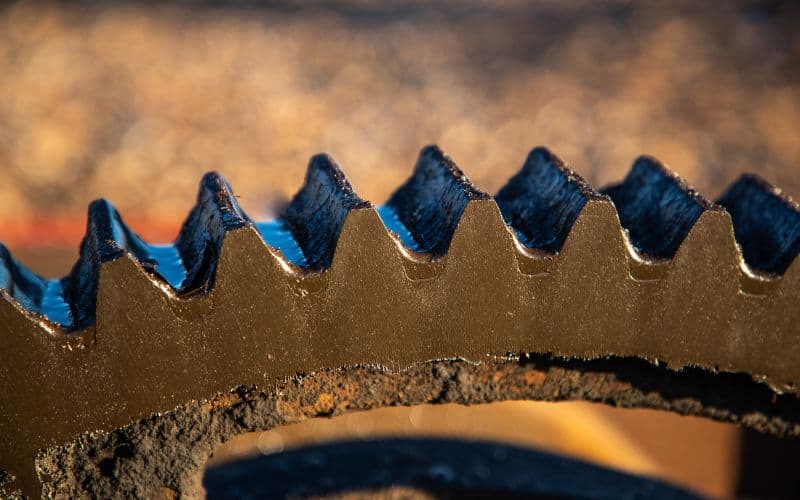
Raggedy Cog Teeth on Your Bike’s Cassette and How To Fix Them
A new or well-fitted chain falling off the drivetrain may indicate issues with your bike’s cassette or cog instead of the chain itself.
Yes, even chains that fit correctly can slip. However, it is not slipping off due to improper sizing.
A bike’s cassette may also succumb to wear and tear that affects its grip, which your chain may have played a part in damaging.
Compromised chains cause misalignments of various components leading to dents, cracks, and abrasions to your cassette’s cogs and teeth.
Cog teeth help hold your chain in place, and specific damages (like a missing tooth) can lessen its ability to grip your chain properly and cause it to stretch.
It is a vicious cycle you best steer clear of, but there are a few things you can do about it.
Solutions for Your Bike’s Ragged Cog Teeth
One tooth off or bent out of shape doesn’t pose too many risks, especially with wide-ratio cassettes.
However, if your bike’s cassette is missing more than a few teeth, it may lead to your chain slipping off every few minutes.
Luckily, the cassette is more durable than most of your bike’s other components and isn’t prone to damage.
Additionally, replacing the cassette isn’t hard either, with most retailers carrying various brands in different sizes in stock.
How to Change a Bike Cassette
You should have it replaced at a bike shop, but if you have spare parts lying around and want to change it yourself, here’s something you can watch to guide you.
However, here are the steps you can take to do it yourself.
- Take the rear wheel off your bike.
- Use a removal tool to loosen the lockring.
- Once the lockring is safely removable, slip it off your bike to access the cassette.
- Tie a piece of fabric or plastic through the cassette’s multiple layers.
- Lift up all of its layers together and pull them off your bike.
- Wipe-off any scum and residue sticking to your bike’s Freehub with a degreaser.
- Slide your new cassette into the Freehub’s raised notches layer by layer.
- Place the lockring back and secure it tightly.
- Reattach the rear wheel of your bike.
Please don’t forget to diligently separate each part you dislodge from your bike. Sometimes, we forget how important this part is.
You don’t want to be a few pieces short of executing a perfect replacement.
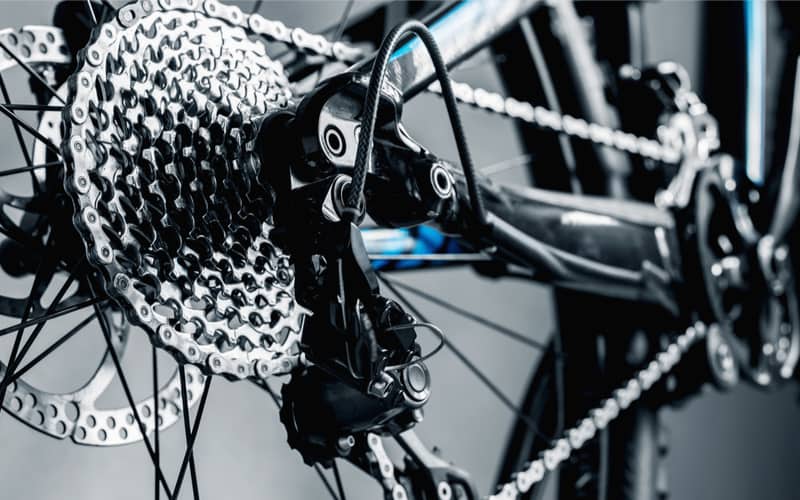
Misaligned Derailleurs and How To Fix Them
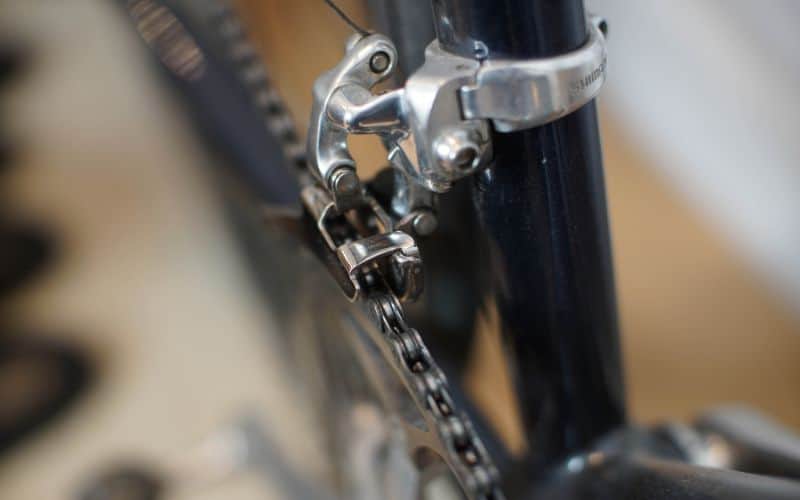
The job description, by definition, of derailleurs is to secure the different shifting system components to each other.
It has components that secure shifting elements together, keeping things in line, and preventing malfunctions.
Still, even fixtures meant to keep things together may suffer misalignment issues. While uncommon, derailleurs’ screws can come undone.
You might hear a clicking or tapping sound if one of its screws is loose and about to come undone. If you encounter these sounds before your chain slips off, your derailleur might be the underlying cause.
Solutions for Your Bike’s Misaligned Derailleurs

Newer bikes have aluminum frames that lock derailleurs in place, further securing your shifting system from coming apart.
If your bike is an older model that doesn’t feature these additional metal pieces, screws are more prone to falling off.
A reliable preventive measure you can take is to ensure you give your bike a routine tightening.
You should regularly tighten the screws on your derailleurs, especially after rigorous biking.
Realign or Tighten Derailleurs
Screwing or readjusting derailleurs may sound easy, but it’s a little more complicated than you think.
Depending on the build of your bike, you will go through various gauging and adjustments before sealing things back in place.
We think this video explains the process the best.
Quick Fix for a Chain Slip
Now, a chain slipping off isn’t always a cause for concern. Sometimes, a chain slipping off is just that.
A chain can slip off with no underlying causes besides rigorous pedaling, impact, wet weather, or a combination of all three.
In those cases, here’s what you can do about it.
How to Reattach Chain Into a Cassette
These are steps you can take as a Hail Mary in hoping your chain realigns itself. If these still don’t do the trick, you might have to throw in the towel and enlist the help of a professional.
- Shift your bike into the lowest gear.
- Keep pedaling until the shift is locked into place.
In some cases, steps 1 and 2 are enough to realign your chain. However, if they don’t help, proceed with the steps below.
- Raise your bike’s rear only until the rear tire no longer touches the ground.
- Use one hand to hold the bike up and another to pedal backward.
*This step should loosen the chain further, making it easier to move around for the succeeding steps below.
- Once the chain is loose enough to move around, lean your bike against a wall or a tree.
- Apply light to moderate pressure to the derailleur away from the bike’s body, allowing a gap wide enough to move the chain around.
- Hold the derailleur in place while you move the chain around, and attempt to place it back up the chainring.
- Once it’s there, take your hand off the derailleur to secure the chain atop the cassette.
- Lift the bike’s rear again.
- Use one hand to hold the bike up and slowly pedal until each chain link grips the cassette.
These steps should be enough to reattach your chain to your bike unless underlying issues prevent its correct alignment.
If you get back on your bike only for the chain to slip off once more, it may indicate worse problems.
However, if your bike runs smoothly after you reattach the chain, without any further slipping, it may have just been a one-off.

How Do I Prevent My Chain From Slipping Off Again?
You should regularly inspect your derailleurs. Make it a routine to tighten them after riding rigorous trails.
Derailleurs are meant to keep everything together, and the applied force from various components can knock its screws off, setting a domino effect in motion.
It would be best if you also oiled up your chain from time to time. Sometimes, the heat can sear dust and other debris into the chain’s links, leading to rust.
Rust can deteriorate the integrity of your chain, affecting other elements in your drivetrain and causing further problems.
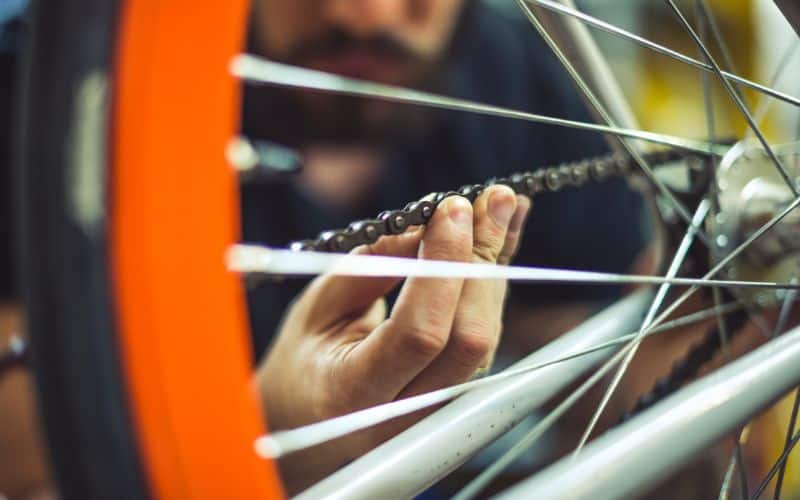
It would help if you regularly gave your bike a thorough inspection. Remember, after numerous rides, your bike’s chain may be worn out and more prone to damage by now.
Chains attached to frequently used bikes stretch out much faster due to the wear and tear they sustain over time.
Neglecting to check your bike and its different components can cause you bothersome nuisances and worse problems in the future.