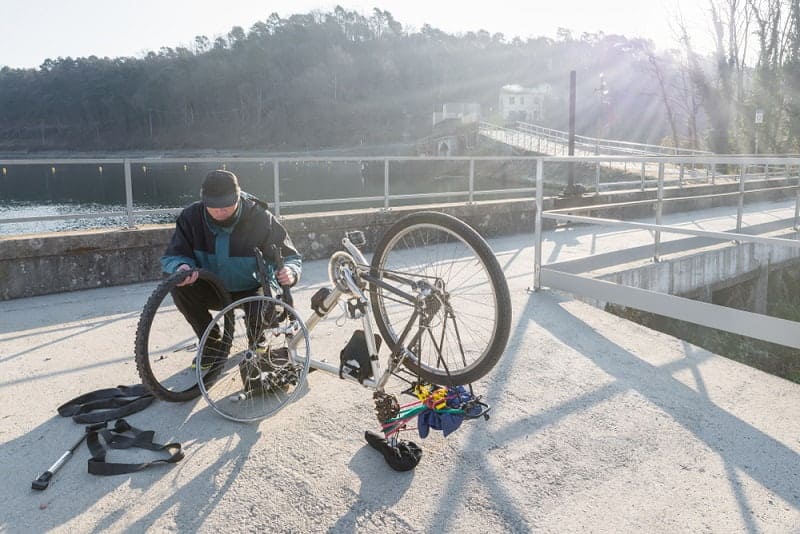
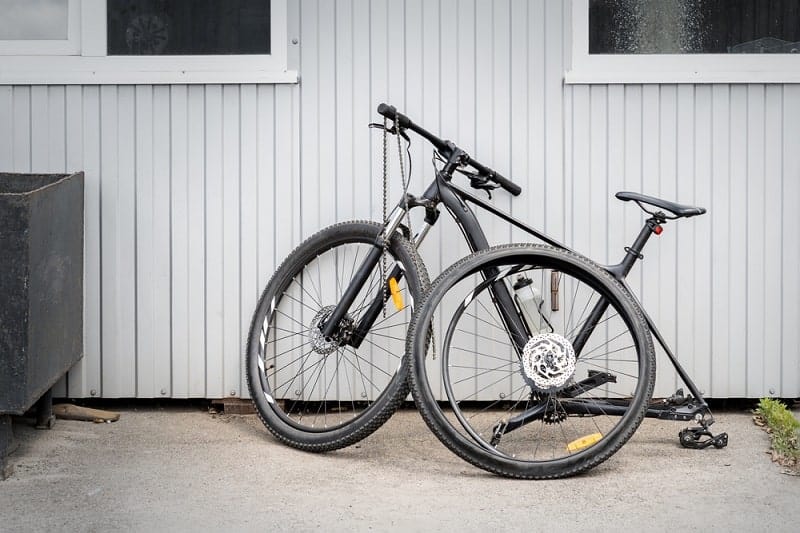
The time has come. Either your bike tire has been damaged beyond repair, you have purchased a new one, or you are making the jump from tube to tubeless.
Whatever the case may be, changing a MTB tire can sometimes be a difficult process.
The purpose of this article is to break down all the steps to taking off your old tire and how to replace it with a new one.
First, let’s discuss the process of getting the old one off.
Contents
How to Take a Mountain Bike Tire Off its Rim?
We are going to break down the steps to remove your bike tire completely off its rim.
In the removal process, it is more difficult when dealing with a tire that has a tube so we will focus on that while mentioning when the steps are different for a tubeless.
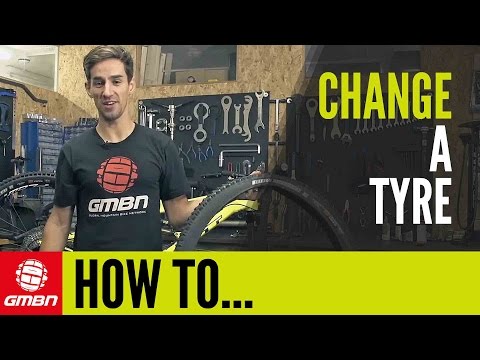
The video below is a great video on how to remove and reinstall a tire:
Assuming that you have removed the wheel from the bike, the first and most important step is to:
Step 1: Deflate your Tube
Be sure to squeeze all the air out of the tire to make all of the following steps easier.
This step is the same for both tube and tubeless tires.
Step 2: Loosen the Bead
The bead is the piece of rubber that attaches the tire to the rim. Along the inner circumference of tires is where the bead lies.
When taking off a tire, the bead is going to be the step that will give you the most trouble.
After riding the same tire for a while the bead tends to want to stick to the rim and you may have to use some force to break it from its inset.
The best technique is to use both your hands to break the bead free from its groove. You accomplish this by pushing the tire into the center of the rim, thus freeing the bead from any sticky sections.
Do this on both sides of the tire, you should now have both beads right next to one another in the middle of the rim track.
This should leave the tire looser on the rim and more susceptible to being removed.
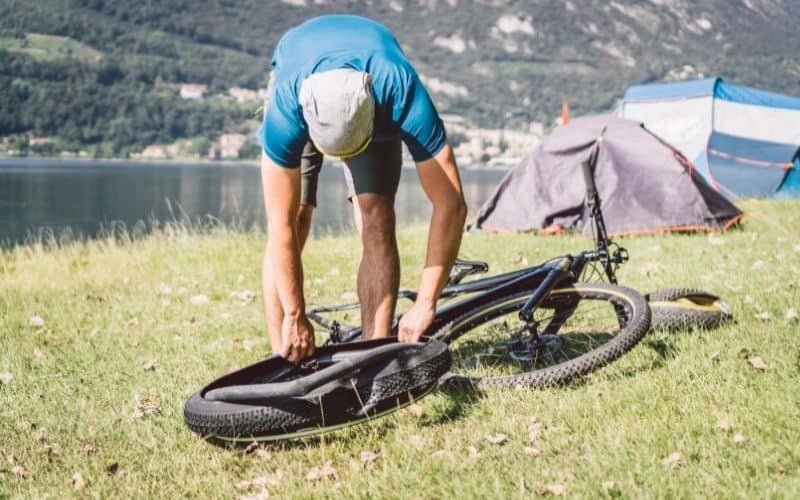
Step 3: Removing the Tire

In some cases, you can remove the tire completely with your hands.
The way you achieve this is by lifting up on the tire with one hand, while simultaneously pushing the tire over the outside edge of the rim with your other hand.
If you are simply looking to replace a damaged tube, you only need to slip the outer bead of the tire over the rim.
This will allow you to slip the deflated tube out of the tire. Ensure that you push the value into the tire before you pull on the tube to avoid damaging it.
If you are looking to replace the tire, simply slip the other bead over the rim and you are finished.
How Do You Get a Stubborn Bike Tire Off the Rim?

There are multiple reasons why your tire might be difficult to get off its rim but the main reason this will occur is because of time.
Whether it be your tire getting wet, dirt finding its way inside the bead track, or constant warming and cooling from the sun, you will often find that older tires will be more difficult to remove.
You may not be able to get your tire off its rim using your hands alone. That is where a tire lever comes into play.
These handy little tools are made of plastic or metal, and their sole purpose is to help in the removal and reinstallation of bike tires.
Be sure when using these tools that you are gentle with them as they can cause damage to not only your tire, but also your tube and rim as well.
It is recommended to start away from where your value sits as this area is more prone to being pinched by the levers.
You want to once again line the two beads up in the center of your rim. Hook the outer bead with the tire lever and then apply downward force to the back end of the lever.
You want to pull the lever until the bead of the tire breaks the threshold of the rim.
Some tire levers will come equipped with hooks on their backsides. The purpose of these hooks is to allow you to link the backend of the tire lever to one of your spokes.
This comes in handy because if the tire is tight enough that you need a lever to remove it, most likely one tire lever will not be enough to allow you to remove the tire.
What you will want to do is leave the first lever in place and then perform the same task with a second lever roughly five to six inches from the original.
This second lever will allow for enough bead to slip over the rim, and you should then be able to remove the tire all the way around the rim.
Follow these instructions and you shouldn’t have any trouble at all getting your tire off its rim.
If you struggle to get the second bead off the rim, feel free to use the tire levers to help.
When you are fully removing the tire, be sure to pull it toward the side of the wheel that doesn’t have the rotor (if your bike has disk brakes).
This video below gives you a great step-by-step guide on the removal and reinstallation of your tire:
How Do You Put a Mountain Bike Tire Back on the Rim?
You have successfully removed that stubborn old tire and you are ready to replace it with a brand new one.
The steps are similar to taking it off, simply in reverse order. Let’s take a look at how you put a tire back on, starting with tires utilizing an inner tube.
Step 1: Reinstalling the Tire
First things first, you must identify the rotation direction of your tire and ensure that you are putting on the tire the correct way.
Nowadays, most mountain bike tires are labeled FRONT and REAR, using an arrow to guide you.
Once you have oriented yourself correctly, place the tire completely over the rim, allowing it to hang loosely on either side.
Now, take both hands, and begin to work the bead over the outer edge of the rim until you have pulled the bead over completely.
Right before the bead pops over the outer edge it may get tight. If this is the case, gently use a tire lever to help you pop over the last few inches. Do your best to pull the bead to the center of the rim.
Step 2: Replace the Tube
If the tire you are working with has a tube, this is where you would replace it.
The best practice is to have the tube slightly inflated to help you along in the process, with the tube holding its shape for you.
Locate the valve on the tube and the valve hole on the rim and then while keeping them lined up, gently push the tube back onto the rim.
Ensure that the valve is seated nicely on the rim and then proceed to feel around the rim to confirm that the tube is in a good position as well.
Replacing the Second Bead

Once you believe the tube is in position, you can then proceed to pop the other bead back over the outer edge of the rim.
In some cases, you will be able to do this with your hands, and if not feel free to finish up with a tire lever . Again, be sure not to damage the tube or tire with the levers.
Once the entire bead is back on the rim, check that your value moves freely in its hole. If it doesn’t move around comfortably in the hole, there is a chance that you pinched the tube.
If this happens you will need to pop the bead back off around the value and then reinstall it, with any luck, the second time around should yield better results.
Inspection/Inflation

Your tire is now ready to be reinflated. But before you do that, it is a good practice to give the tire and rim a quick inspection, looking for anywhere the tube might be sticking out.
If all looks well, go ahead and inflate your tire to the recommended PSI located on the tire. Do not be concerned if you hear popping, that is simply the bead rapidly falling back into its groove.
After another quick once-over of the tire to confirm that anything isn’t amiss, you are now ready to reinstall the tire back onto the bike.
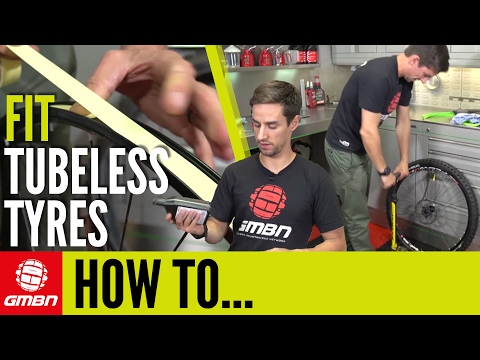
Tubeless Tires
While one would assume that tubeless tires would be easier to install, the opposite happens to be true.
The process is much the same, minus the need to worry about the tube. But to be able to install tubeless tires, there are multiple other steps that one must do.
These steps include things like taping off the rim, pouring sealant inside the tire, and the use of different types of air compressors.
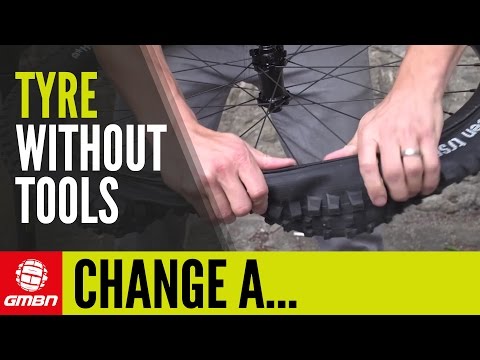
We won’t go into the entire process in this article, but feel free to check out the following incredible instructional video on the process:
FAQs
While scouring the internet looking for the most common issues that arise when replacing your bike tire, there seemed to be only one recurring problem. And of course, it has to do with the bead.
I Can’t get my Bead onto the Rim, It’s too Tight

This is the most common complaint we found with replacing a bike tire.
It seems as though specific models, sizes, or styles of bike rim seem to give owners a tougher time when it comes to slipping the bead over the outer edge of the rim.
Have no fear if you run into this issue, you are not alone. The mountain bike community has offered a few solutions to this issue.
The solution that usually rectifies this issue is to add a little lubricating agent to the rim and tire. You can start with water and if that doesn’t seem to do the trick, you can add some dish soap. Windex was also suggested.
Use as many levers as you need, every extra will aid in getting that stubborn tire on.
You can also try leaving the tire in direct sunlight for a few minutes, allowing it the chance to warm up and become more malleable.
Conclusion
Replacing or changing a tire on your mountain bike can be quite a process, but if you ride your MTB regularly, it is a harsh reality we all eventually face.
Use every tool at your disposal and be patient during the process. The rim, tire, and tube are all easily damaged if not approached properly.
Follow these tips and tricks mentioned above for making the process smoother.