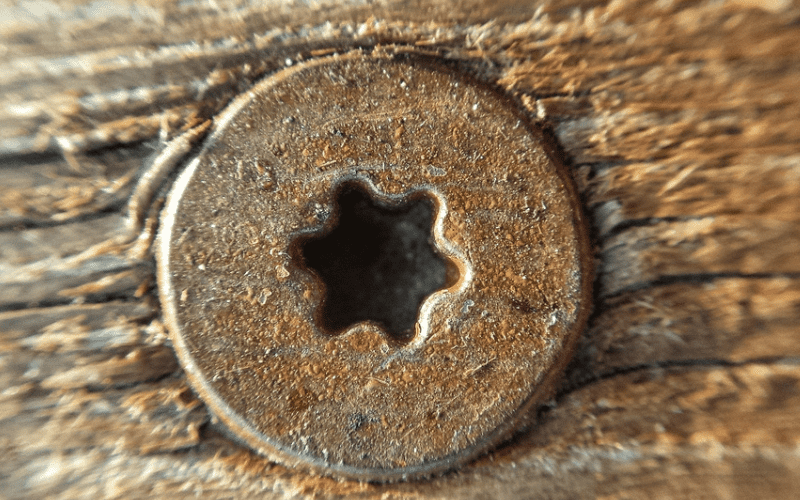
You’re in the process of doing some routine maintenance on your bike when you notice that a Torx screw is completely stripped.
Its characteristic divots are worn and it looks like it’s going to be fused to your bike forever.
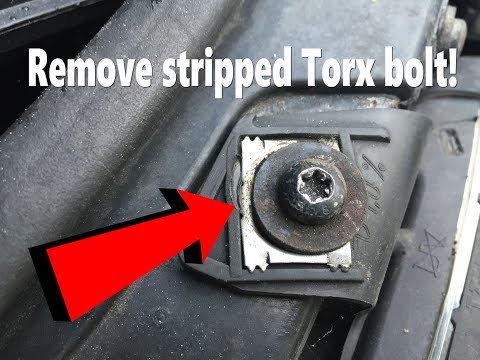
Is all hope lost? How can you remove a stripped Torx screw?
Keep reading to find out!
Contents
1. Use Vice Grips
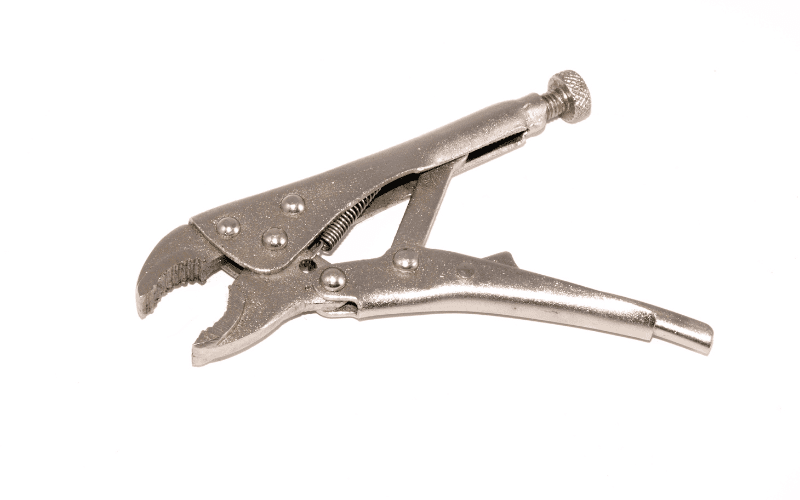
If the Torx screw’s head isn’t leveled with your bike’s frame, you may be able to remove it using vice grips. Though vice grips are the best tool for this job because they will grasp the screw head the tightest, you can also use pliers.
Place your vice grips over the screw head and grasp the handles to secure it in place. Then, using all your strength, try to twist the screw out of the frame.
This may be challenging if it’s rusted in place, so if you’re having difficulty manually removing the screw, proceed to the next solution.
2. Wrap Your Tool in a Rubber Glove/Bands
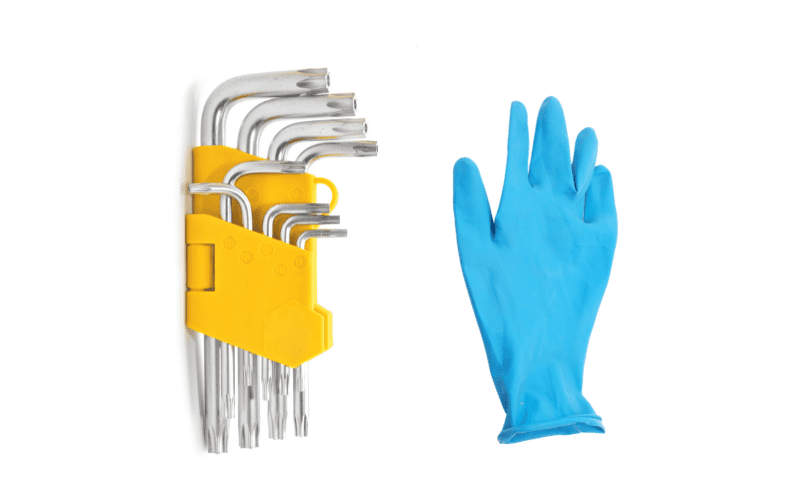
If the Torx screw is very worn but there is still a divot where the Torx key should go, you could try wrapping a rubber glove or rubber bands around your tool.
You can use a Torx key or a Phillips head screwdriver for this method.
Cover your tool’s tip with a rubber glove or wrap a rubber band around it. The goal here is to slightly widen your tool’s tips so it can adequately fill the screw’s divot, giving you some leverage when unscrewing it.
The rubber’s tacky texture will also help to keep your Tork key or screwdriver in place, preventing it from slipping and wearing the Torx screw further.
Place your rubber-covered tool in the divot and apply some pressure so the rubber fills the drive. Then, start twisting your tool to unscrew it.
If all goes well, you should be able to unscrew it without damaging the screw or your tool.
3. Glue the Torx Key to the Torx Screw
If your Torx screw’s drive is extremely worn or you’re having a difficult time getting any traction when using a Torx key or screwdriver, consider gluing your tool to the screw.
This will ensure you can get a good grip on the screw. However, you will have to permanently bond your tool to it. So, we recommend using a cheap or old tool that you don’t mind throwing away afterward.
For this, you can use industrial epoxy adhesive, like the Devcon 2 Ton Epoxy .

If you don’t have any industrial epoxy adhesive laying around, you could try this process using a hot glue gun or regular super glue.
Apply some adhesive to the Torx Screw and the end of your tool. Then, press them together, holding them in place until the glue completely dries. Check the product label for exact drying times.
Once the glue has dried, try unscrewing it.
Make sure to twist the screw the correct way. I like to remember the phrase “lefty-loosey, righty-tighty” whenever I’m unsure of which way to twist a screw.
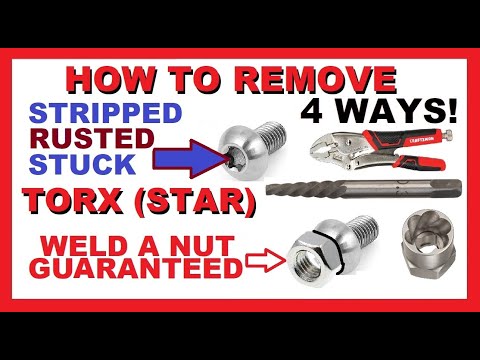
Watch the video below demonstrating several ways to remove a Torx screw, including by adhering it to your tool.
4. Use a Flathead Screwdriver
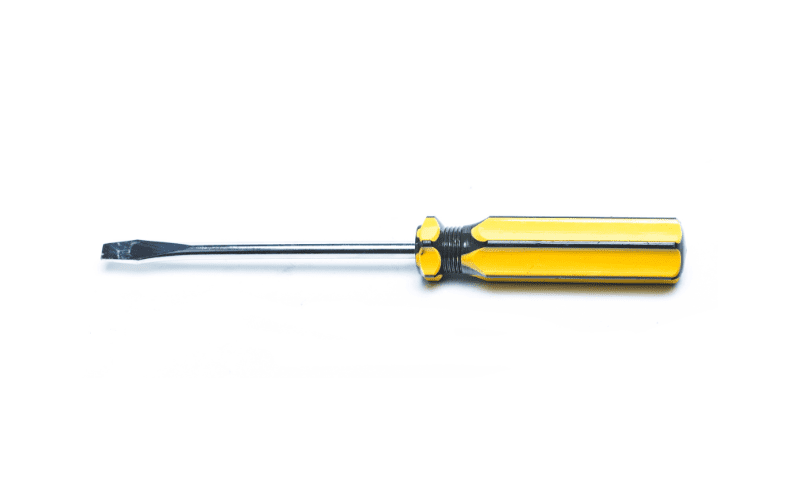
Another way you can remove a Torx screw is by using a flathead screwdriver to loosen it.
Philips screwdrivers or Torx keys may slip when used on a stripped Torx screw, but flathead screwdrivers only have to grip two sides of the drive, possibly making them a more viable option.
First, check to see if your screw’s head has any remaining points where you can place your screwdriver. If it does, you’re in luck, as you only need one for some traction.
Then, place your flathead in the screw’s head, ensuring it fits snuggly in the grooves. You may want to use a slightly larger flathead if you’re having difficulty gripping the screw’s drive with the screwdriver’s head.
Now, turn your screwdriver and try to twist it out. With any luck, the screw will begin to budge and you’ll be able to remove it in no time.
5. Weld a Nut to the Torx Screw
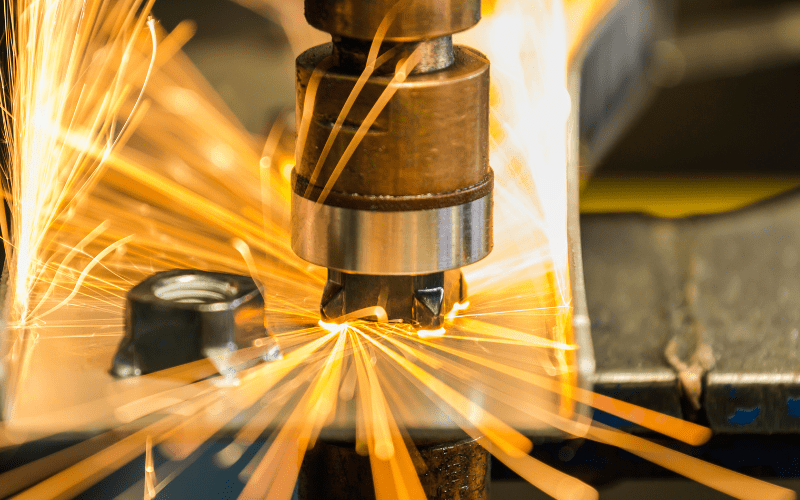
Do you own a welder and have experience using it? If so, consider welding a nut to the Torx screw.
This will give you great leverage when trying to remove the screw as you’ll be able to firmly grip the nut without it falling off the screw head or sliding around.
To do this, find a nut that’s a little smaller than your Torx screw’s head. Place it on top of the screw and weld them together.
Always exercise extreme caution whenever welding metal together and wear the appropriate protective face shield and garments.
Once the Torx screw and nut are fused together, wait for them to fully cool down. Then, use an appropriately sized socket wrench, slide it over the nut, and unscrew the Torx screw.
You should be able to firmly grasp onto the nut, making it easy to unscrew.
The welder’s flame may also disintegrate some of the rust, making your job all the easier.
Watch the video below to learn how to remove a stripped Torx screw using a welder:
6. Saw a Slit in the Torx Screw Using a Grinder
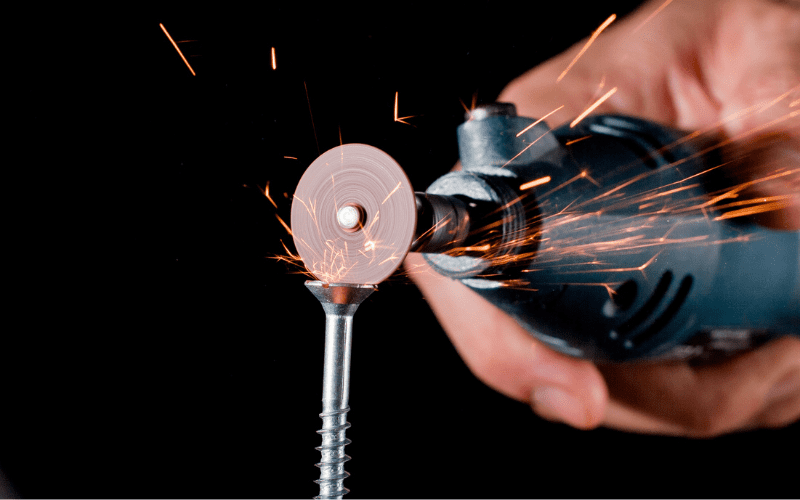
Finally, you can use a grinder to make your Torx screw into a flathead.
Use a grinder to cut a singular vertical strip through the middle of the screw head. You want to make sure it’s about the same size as the tip of a flathead screwdriver.
Please be careful when using a grinder and seek guidance if you’ve never operated one before.
Once you’ve made a slit in the screw, insert your flathead screwdriver into it and unscrew it with all your might!
Note: Please discard your old Torx screw and carefully select its replacement, ensuring it’s in good condition and not worn.
Watch the video below demonstrating how to remove a Torx screw using a grinder.
Good luck!